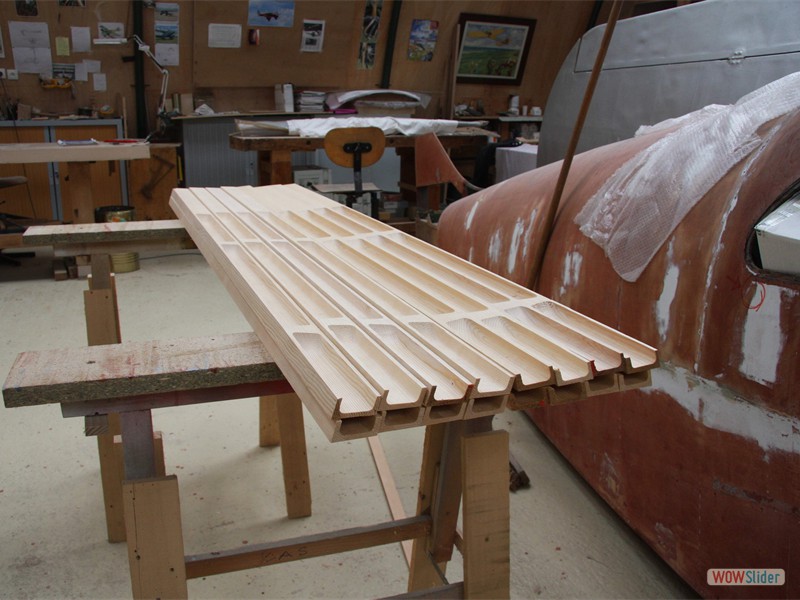
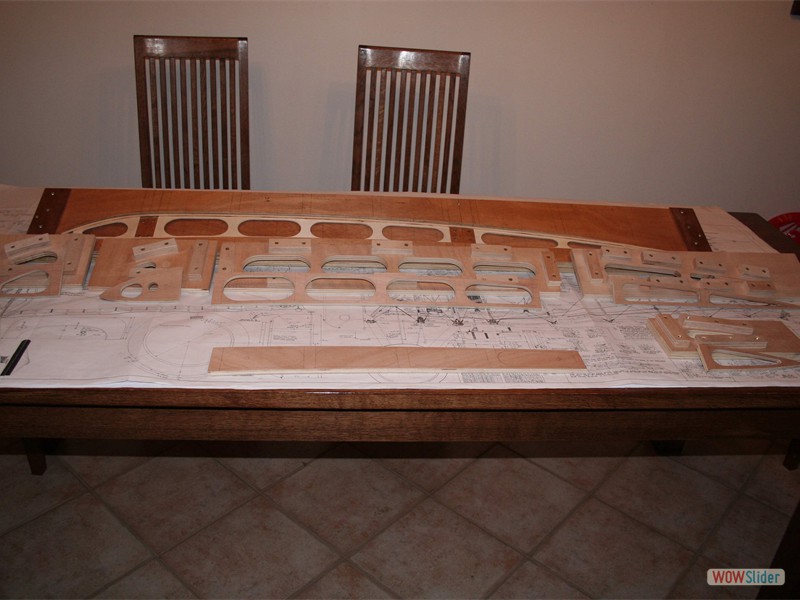
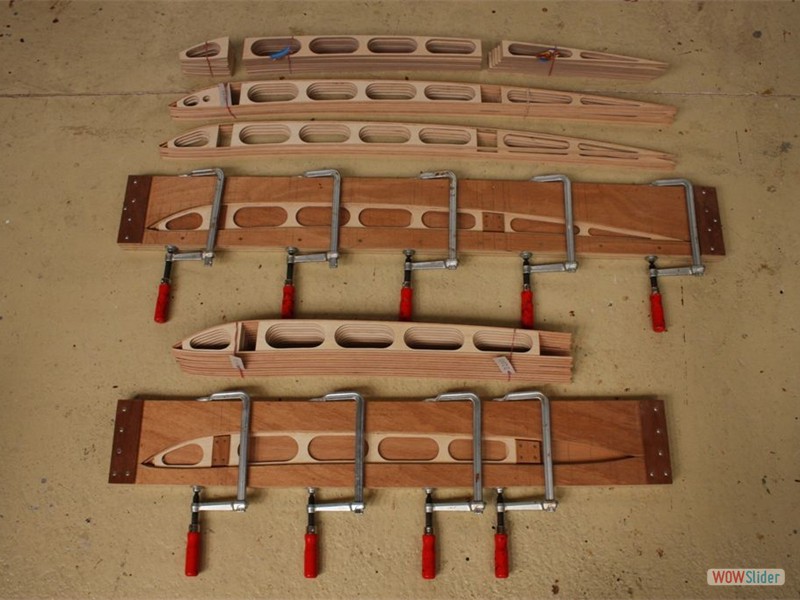
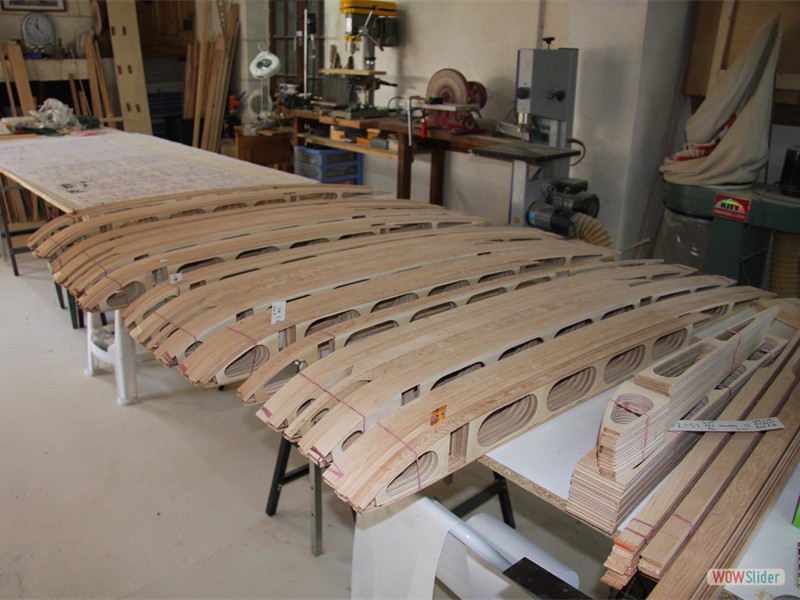
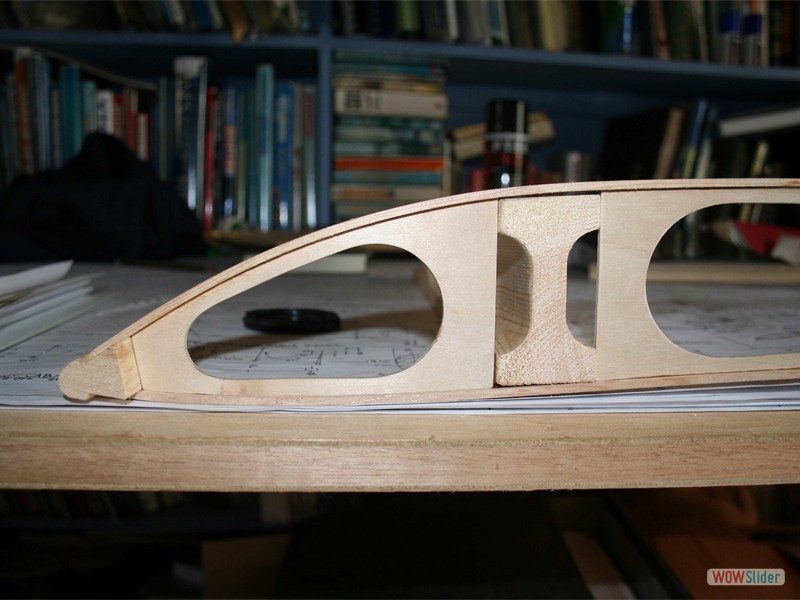
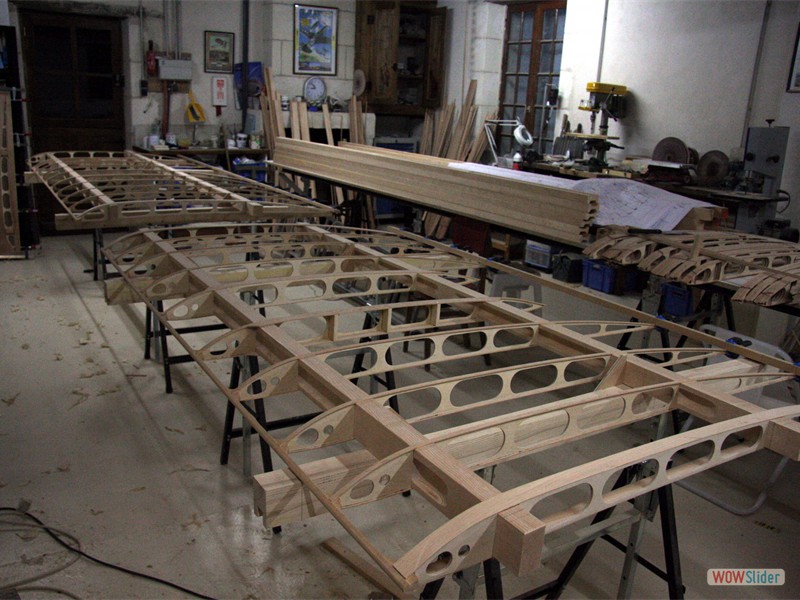
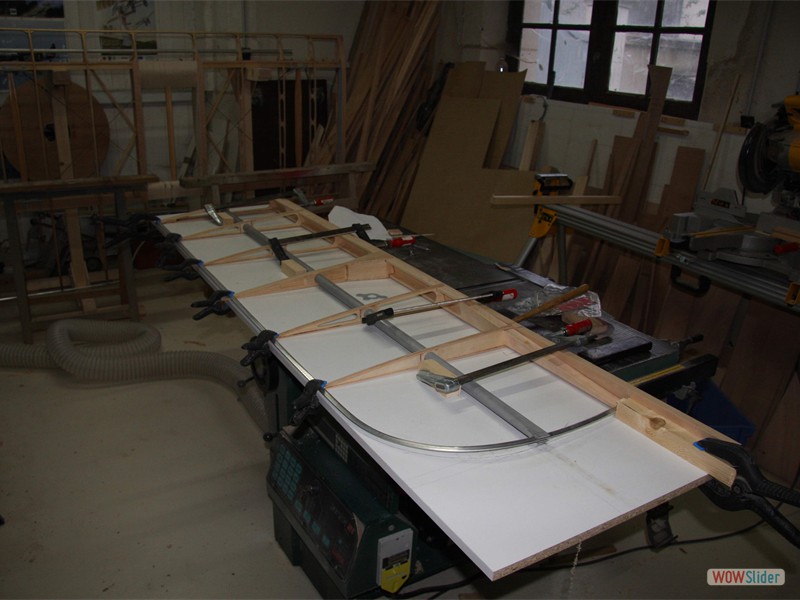
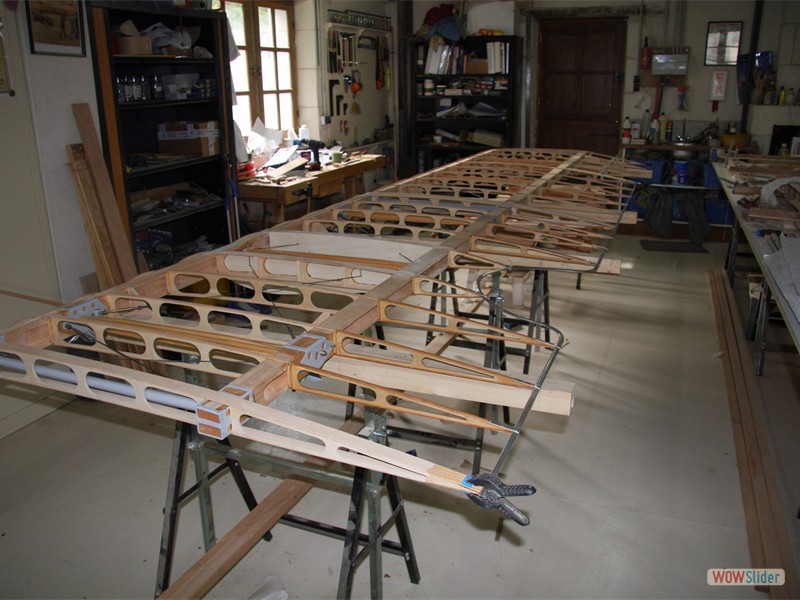
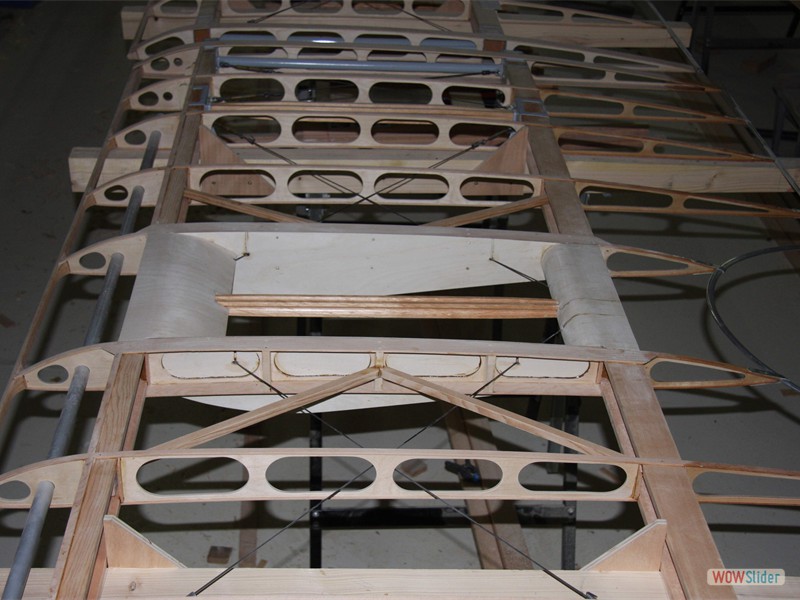
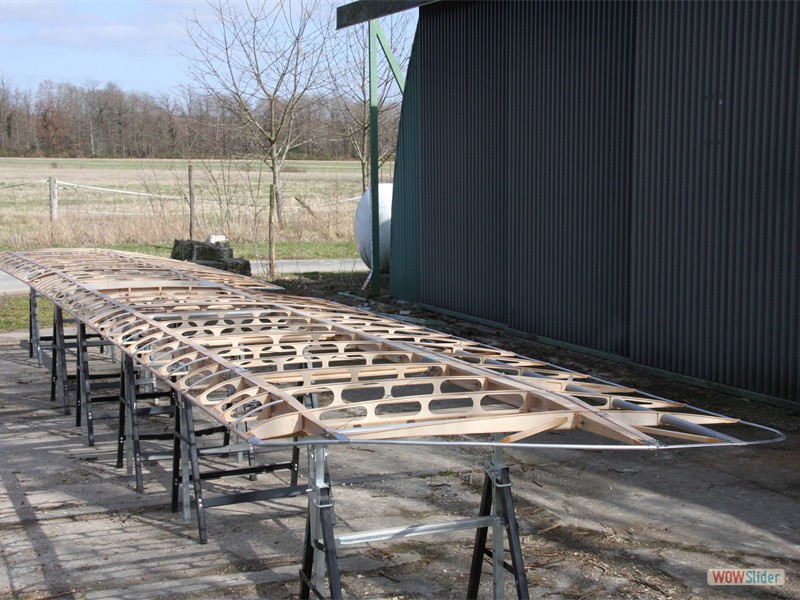
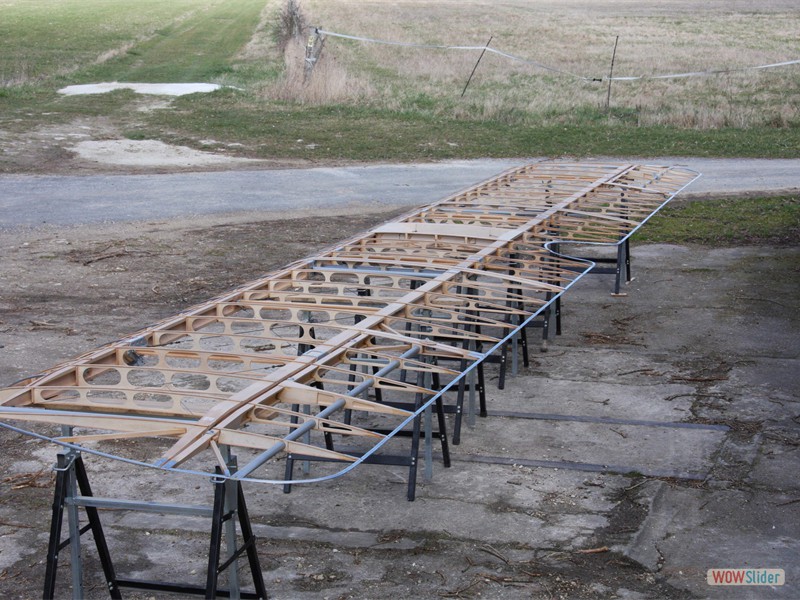
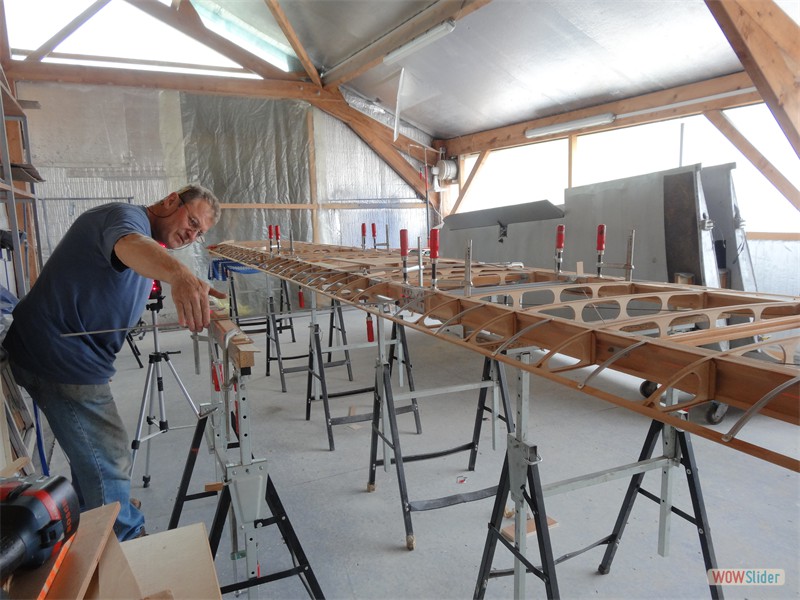
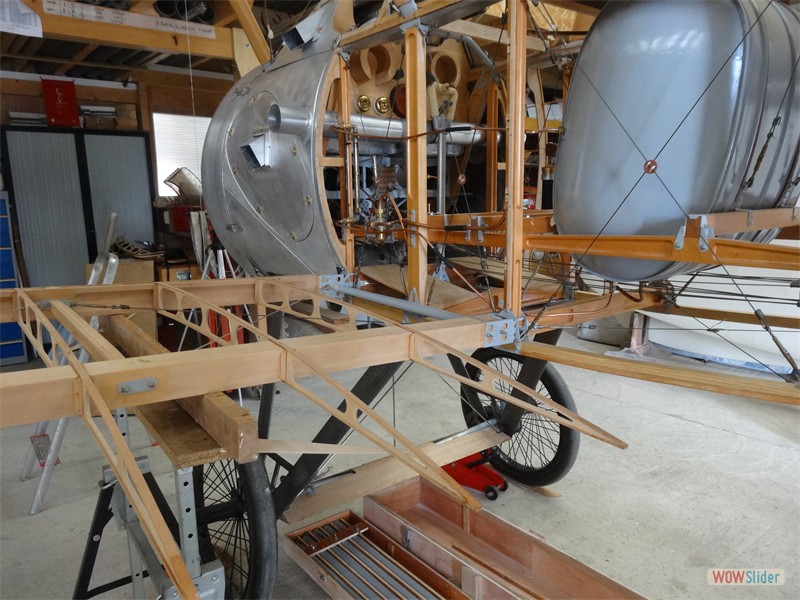
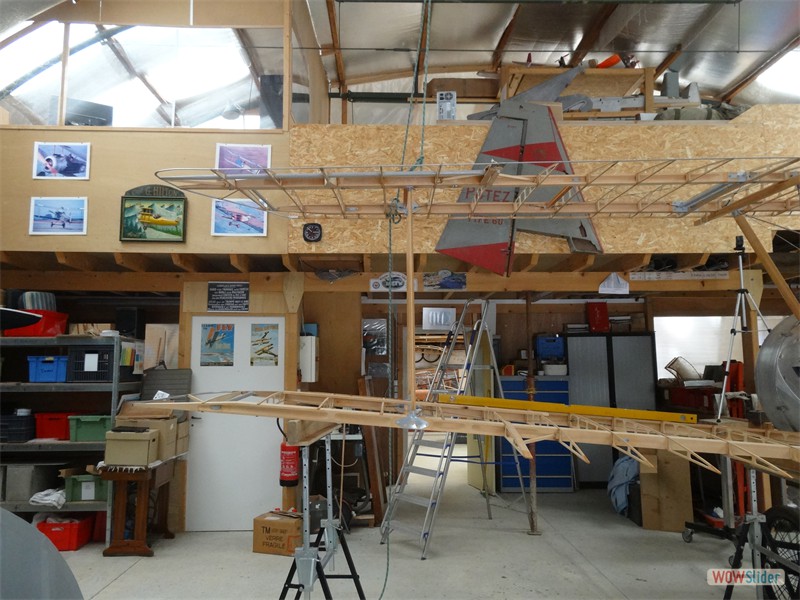
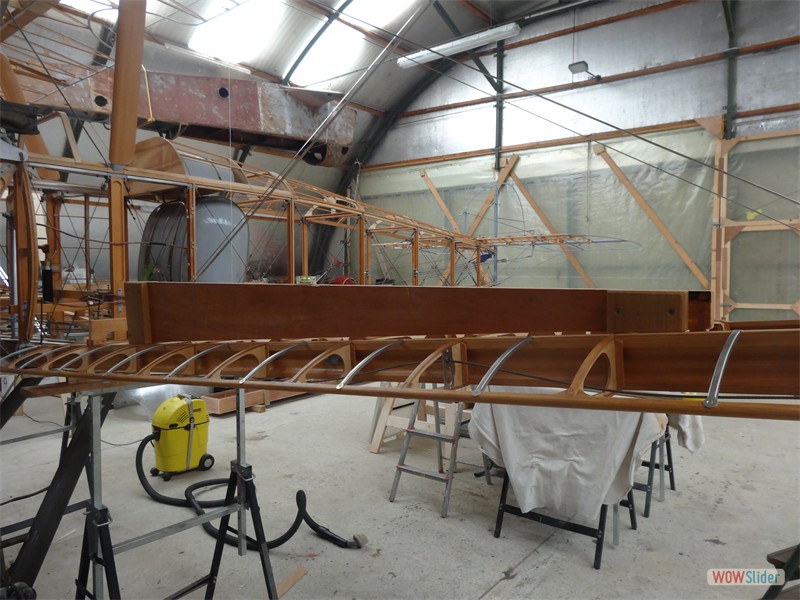
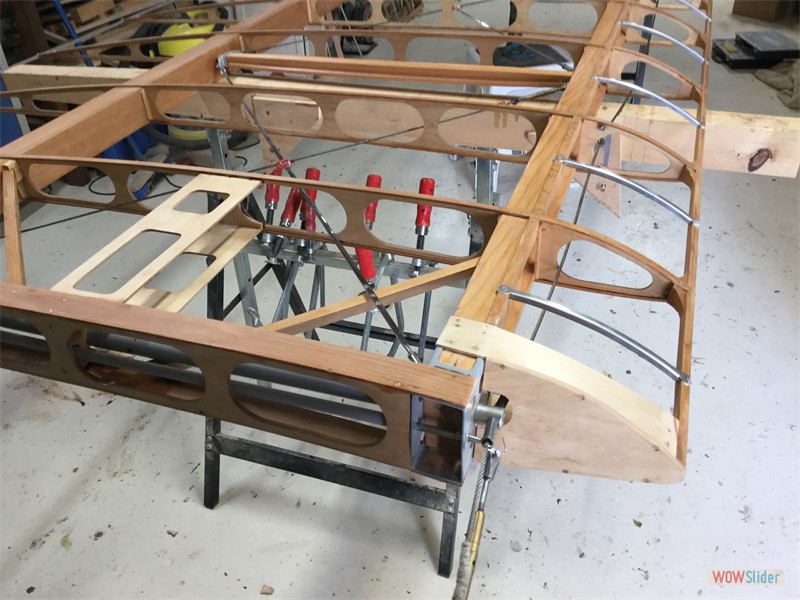
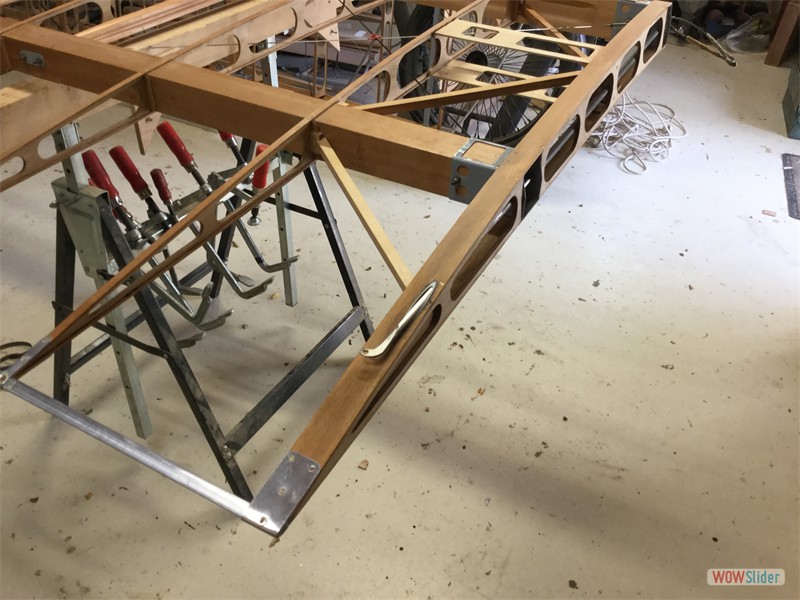
There are 5 wings per Sopwith Camel: two upper and two lower (port and starboard) and an upper centre section. The upper wings are straight and the lower ones have dihedral. Many of the ribs are ‘handed’ ie left or right. This makes an already complicated array of ribs even more so. Again you start from planks of wood and sheets of plywood. Weight was a real issue in 1917 so there is a lot of work in scalloping out and lightening. The capping strips bind the ribs together.
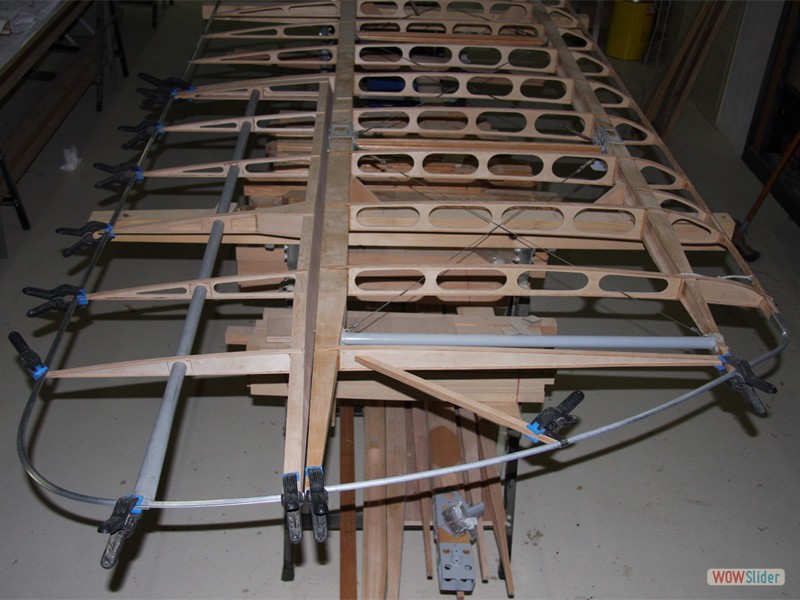
There are two spars per wing (10 spars) plus two carry through fuselage spars. The front and back spars are different and also handed. There are 4 aileron spars. Again there is significant scalloping work for weight reduction. The leading edge has a shaped and scalloped wooden rib nosing and the trailing edge a shaped continuous metal section, (particularly difficult around the centre section wing). For visibility, the centre of the centre section was cut out which requires extra strengthening.
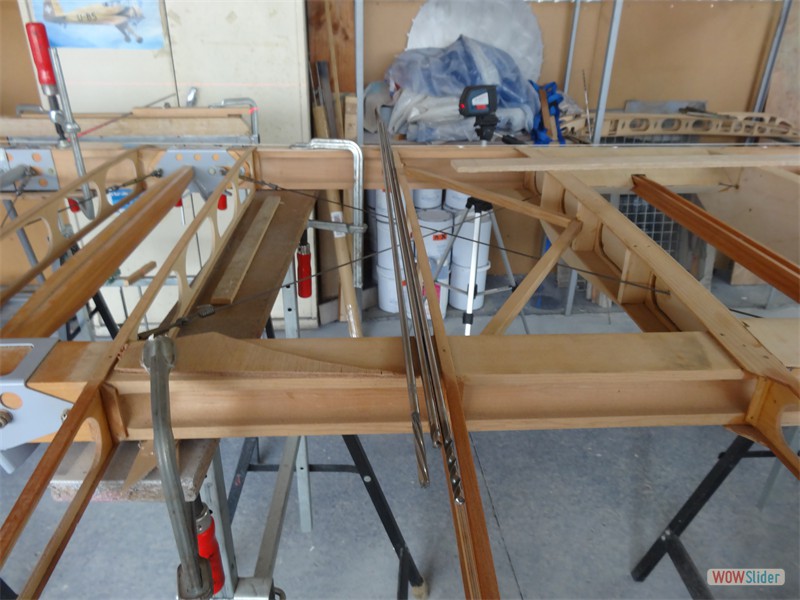
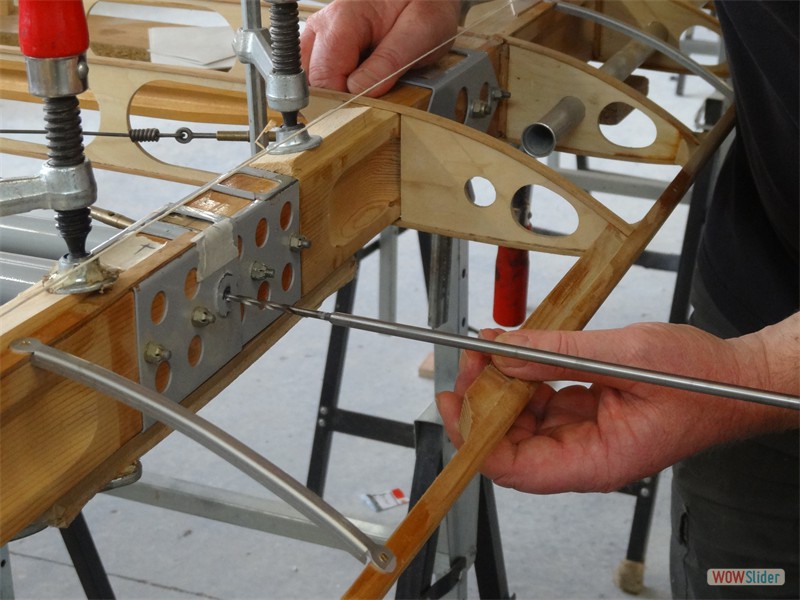
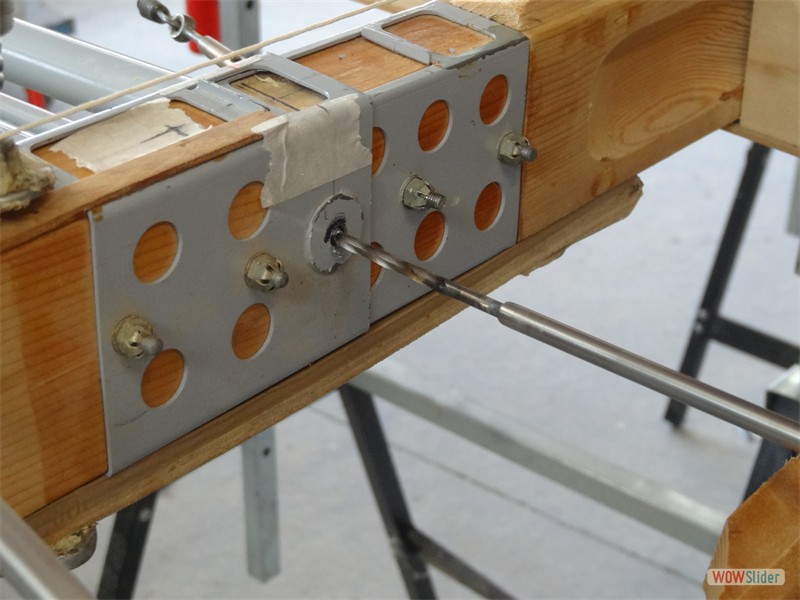
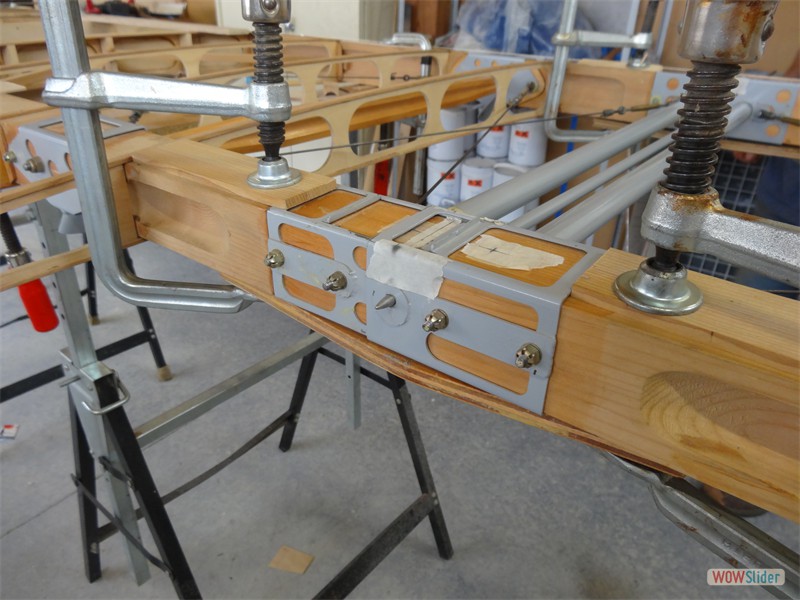
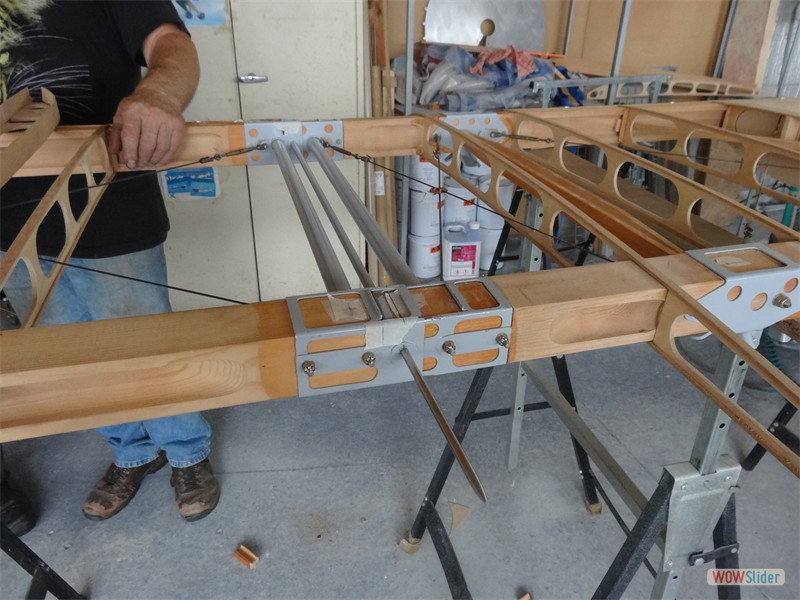
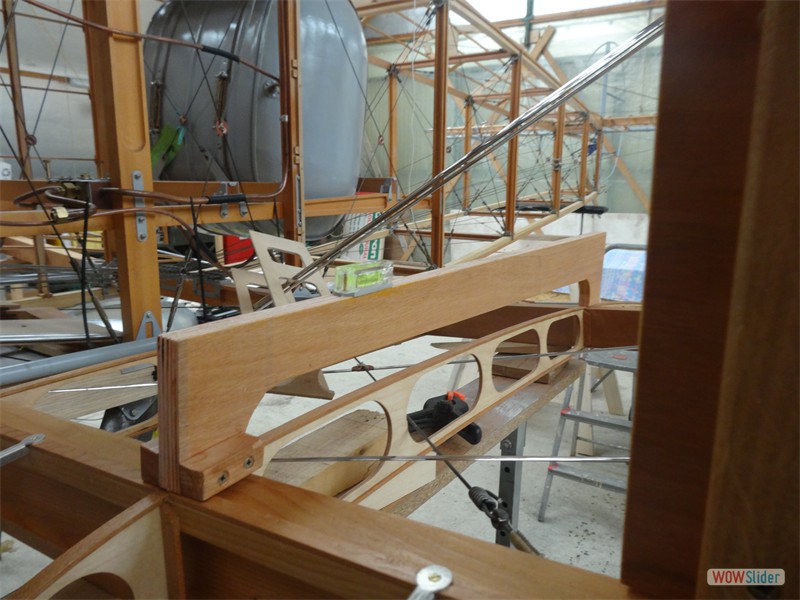
Everything comes together in assembly but it is important to get the sequence right. There are a lot of metal fittings and the wings are trued up with piano wire and turnbuckles. There are metal and wood drift struts to keep the spars apart.
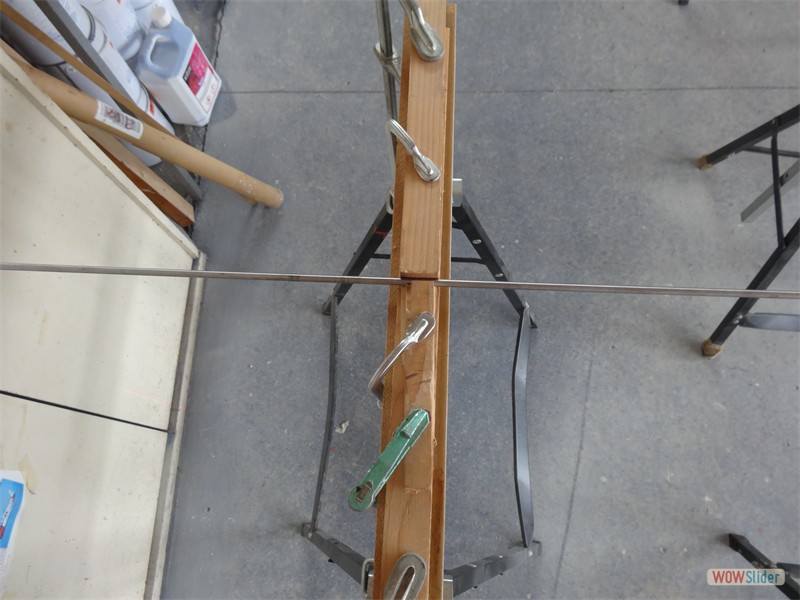
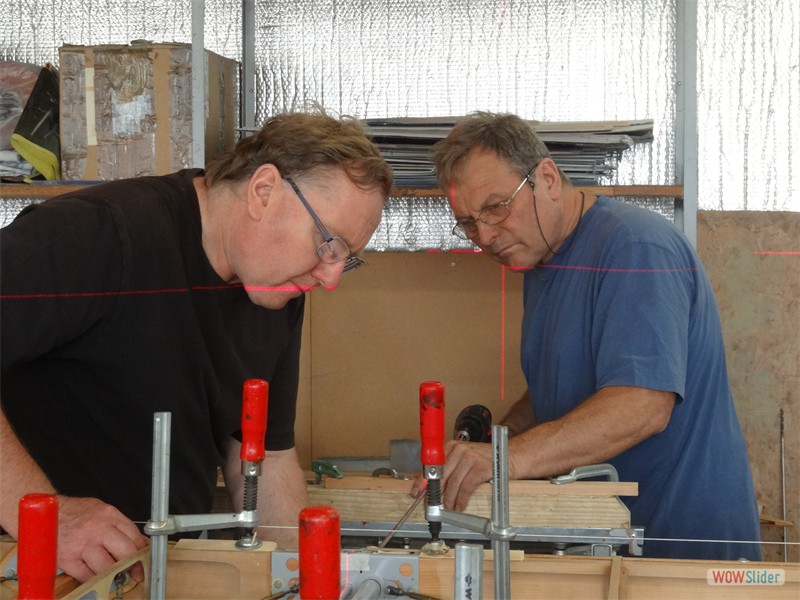
The wings must be assembled to drill for the wing pins and to fix the wing root fittings. March 2016 – after days of rigging checks on dihedral, stagger and incidence, the lower wing pins were drilled – an even more nerve wracking task after the terrible upper wing drilling effort in July 2015! At last the aircraft stands complete without trestles.

